We all appreciate the notion of a delightful cup of joe made effortlessly without needing to clean up the coffee maker afterward. It makes it an effortless process to savor that rich, aromatic brew. To many Coffee drinkers, washing a classic coffee machine is a hard pass. The Keurig coffee maker, therefore, earns a rare spot at the top of the shopping, ensuring users can indulge in their favorite brew without the constant concern of upkeep. While the highlight of a Keurig coffee maker is its convenience, coffee lovers ought to take care of the star of the show.
For a more rewarding experience with your coffee, contact Solai Coffee for amazing monthly deals on freshly roasted coffee beans.
Why Should You Clean A Keurig Coffee Maker?
Your Keurig K-machine or K-Elite coffee maker may be fine, but here's why you should clean it. For starters, the K-pod for any coffee maker model you are using is generally a damp and dark part of the machine. With reusable K-pods making headlines, one should consider the risk of collecting grime and bacteria. If unattended for far too long, the water reservoir grows icky. Under the coffee cup is the drip tray, which can be a breeding ground for bacteria and grime without proper hygiene. Continuous mineral deposits within these parts can cause faulty machines of the coffee maker, mainly when we use hard water to brew that instant cup.
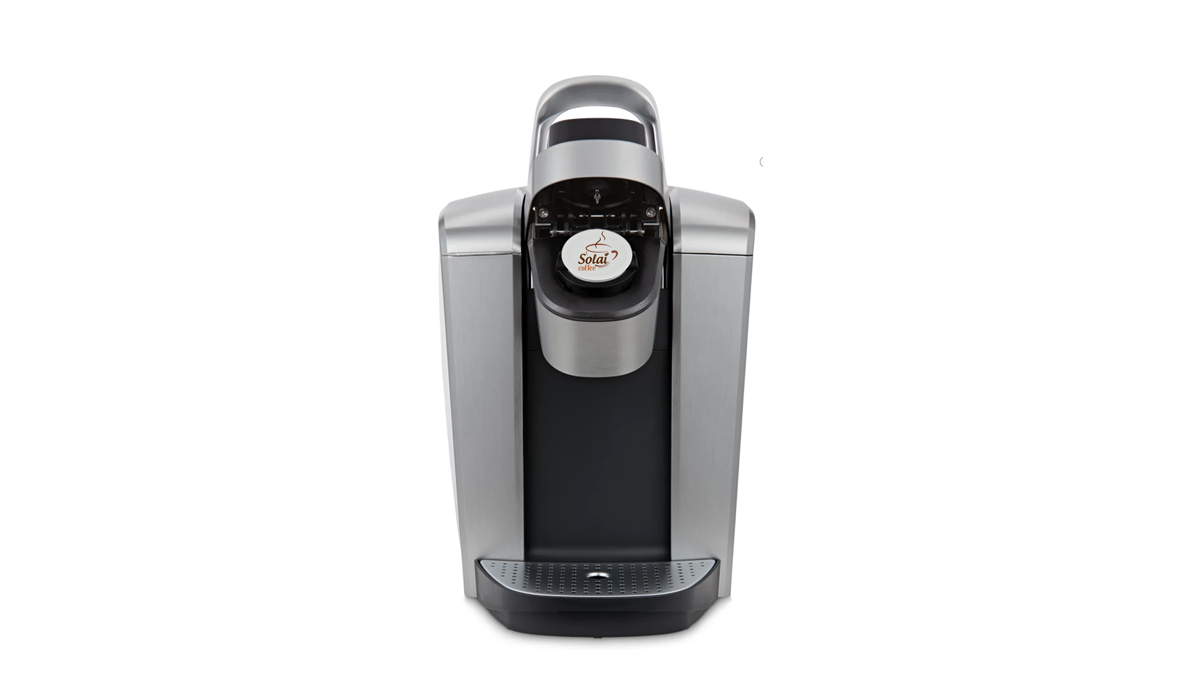
 A Keurig coffee maker, with Solai coffee K-pod
securely inserted
, eagerly to brew a cup of coffee
Below is a complete guide provided by Kelly Dawson at archdigest.com to clean and descale your keurig coffee maker for delightful coffee brew whenever, as for some!
How to Clean a Keurig Machine
In this guide, cleaning a Keurig machine takes three phases:
- Cleaning the exterior.
- Eliminating clogs and any buildup, and, lastly.
- Descaling to remove unwanted calcium deposits.
Budget for a Keurig Coffee Machine Descale solution available on Amazon or your local shopping mall for satisfactory outcomes.
No descaling solution, no problem! Using a mixture of household vinegar and clean water offers a cost-effective and straightforward method to achieve excellent results when cleaning your Keurig. This affordable solution effectively clears away clogs and scales from your Keurig machine.
Cleaning Outer Parts of A Keurig Machine
Step 1: Ensure personal safety by unplugging the Keurig machine from the socket to avoid electrical shocks when cleaning.
Step 2: Separate the water tank from your Keurig machine and empty any remaining water. It is advisable to clean the water reservoir weekly if you brew coffee every day. Use the opportunity to replace the water filter if your machine has one. Changing your water filter once every two months is also advisable to prevent potential health hazards and off-flavors. Remove any coffee residue from the drip tray and park holder; a toothbrush may be the perfect tool to reach corners your fingers may not. Use warm, soapy water to clean these parties and leave all these parts to dry completely.
Removing Residue, Buildup, and Clogs
Step 3: It's time to clean the pod holder and brewer needle to remove clogs and residue. Separate the pod holder from the funnel which holds the brewer needle. Do this by pushing the K-cup holder upwards after lifting the handle of the Keurig machine. Use a toothbrush or paperclip and dislodge clogs of coffee grounds and buildup stuck on the inside, rinsing both parts with warm, hotter. Repeat this process on the brewing needle for deep cleaning. Leave these parts to dry completely.
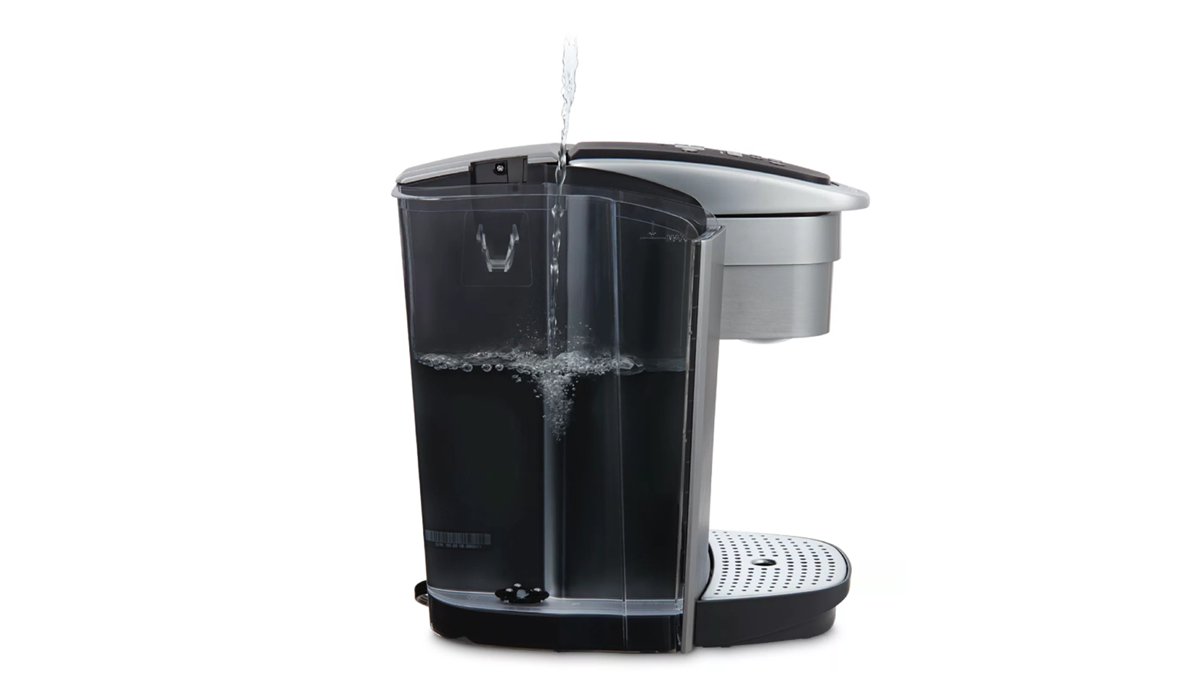
 Keurig coffee machine with a focus on the water reservoir compartment located on the side.
How to Descale your Keurig Machine
After every 3 to 6 months of use, scale or calcium deposits build up in the inner parts of Keurig coffee makers; if you own a Keurig machine, it is essential to descale your appliance as part of your hygiene routine. While scale or calcium deposits are not harmful, accumulating these residues prevents your Keurig coffee maker from working optimally. For this process, you must invest in white vinegar or a Keurig descaling solution for deep cleaning. Follow the guide to descale your Keurig machine to avoid glitches and other performance faults.
Step 1: Add vinegar or descaling solution into the water tank and fill the entire reservoir with distilled or filtered water from your tap.
Step 2: Set your Keurig coffee maker to brew the maximum cup setting, put a large bowl or mug under the sprout, and start the brewing cycle.
Step 3: Repeat the process while emptying the solution (use your sink) each time to empty the entire water reservoir. When finished, let the machine rest for 30 minutes.
Step 3: Use distilled water to rinse the reservoir with another brew cycle to eliminate any remaining calcium deposits.
Step 4: Put a mag under the sprout to collect any remaining water. You are all
Set!
Descale Keurig with Vinegar
You do not have the Keurig descaling solution and may be wondering how to clean Keurig with vinegar. Worry not! Use equal amounts of freshwater and white vinegar to fill the reservoir at the brim. To complete the process, use fresh water to rinse the vinegar in a few brew cycles.
Now you know how to take care of your Keurig coffee maker!
For a more rewarding experience with your coffee, contact Solai Coffee for amazing monthly deals on freshly roasted coffee beans.
Enjoy!
How to Clean a Keurig Coffee Maker